OpenEMR Development Version Linux Installation
Required Software Installation (distribution specific)
First install and configure MySQL, Apache (or another PHP-capable webserver), and PHP. We recommend referring to your specific operating system (OS) documentation for installation of these software packages.
- (Ensure PHP is configured with these settings)
Debian Lenny
To install the prerequisite software on debian, use the APT system as the system administrator to install packages listed on following wiki page section:
Centos Or RedHat
- If using CentOS or Redhat, then ensure when configuring MySQL for OpenEMR, STRICT_MODE must be disabled. This can be done in the MySQL configuration (my.cnf) file. You can check the setting in an existing MySQL instance by executing SHOW VARIABLES; in the MySQL Command Line Client and checking the value of SQL_MODE. For more details see: http://dev.mysql.com/doc/refman/5.0/en/server-sql-mode.html)
Installing OpenEMR
Downloading package
1. Download the daily OpenEMR development version snapshot:
- https://six.openemr.io/files/openemr-cvs.tar.gz (MD5SUM of file is Here.) (Confirm date of snapshot Here.)
2. Extract the downloaded archive:
- tar -pxvzf openemr-cvs.tar.gz
3. Move the extracted directory openemr to your webserver root directory, and then go to this directory. Refer to your OS and webserver documentation to obtain you webserver root directory. For example, Ubuntu's webserver root directory is /var/www, so in Ubuntu you would use the following commands:
- mv openemr /var/www/
Some other common webserver root directories are:
- Mandriva: /var/www/html
- The FHS: /srv/www/
Configuring the Install through the WEB GUI
1. Open up web-browser and point it to the installation script at http://localhost/openemr .
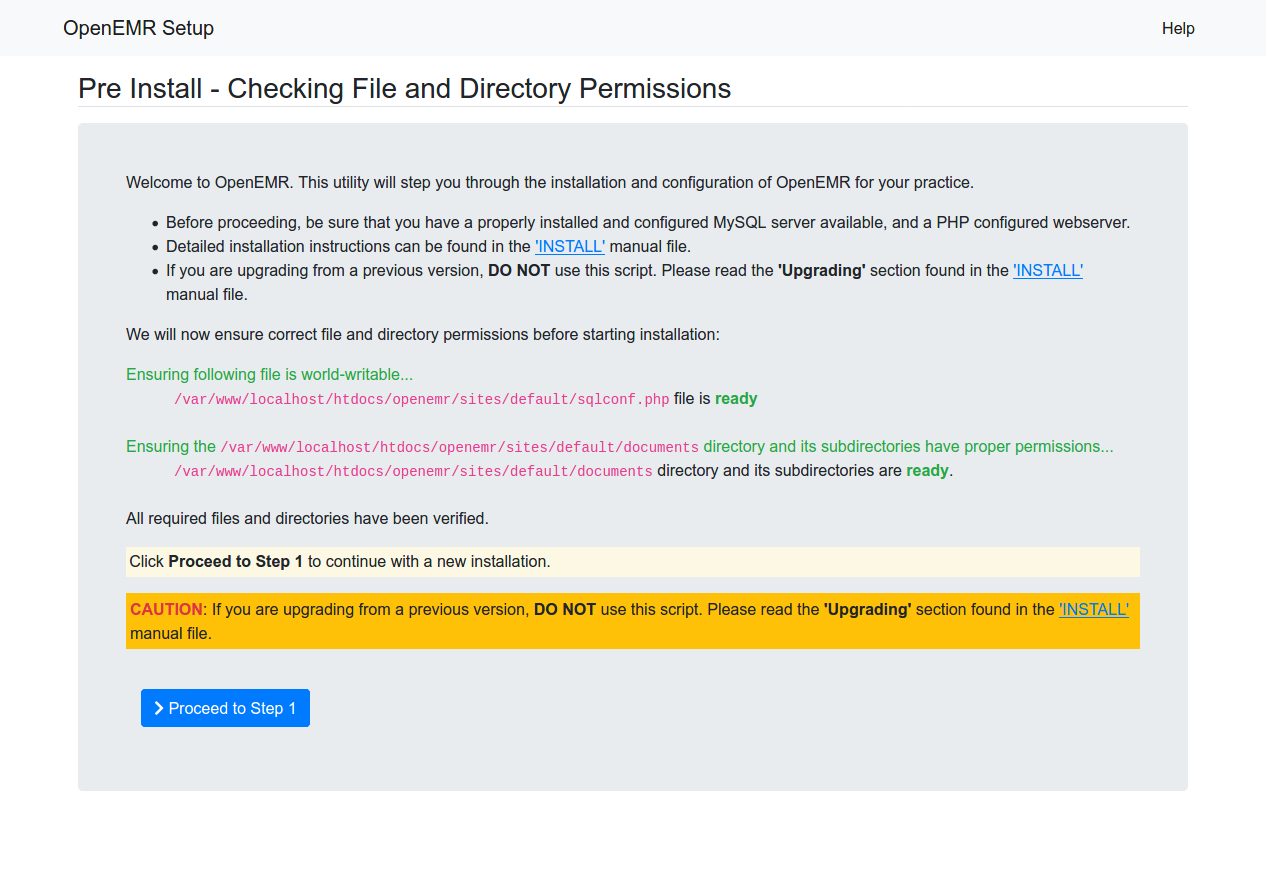
- The first screen gives some general instructions and ensures file and directory permissions are set up correctly. It should tell you all your file system permissions are good, and have a 'Proceed to Step 1' button on the bottom of the form. If it does, Click the 'Proceed to Step 1 button. Otherwise, If there are errors on this screen, then follow instructions to fix. You can click on the tooltip link at top right of page for more instructions. (screenshot below)
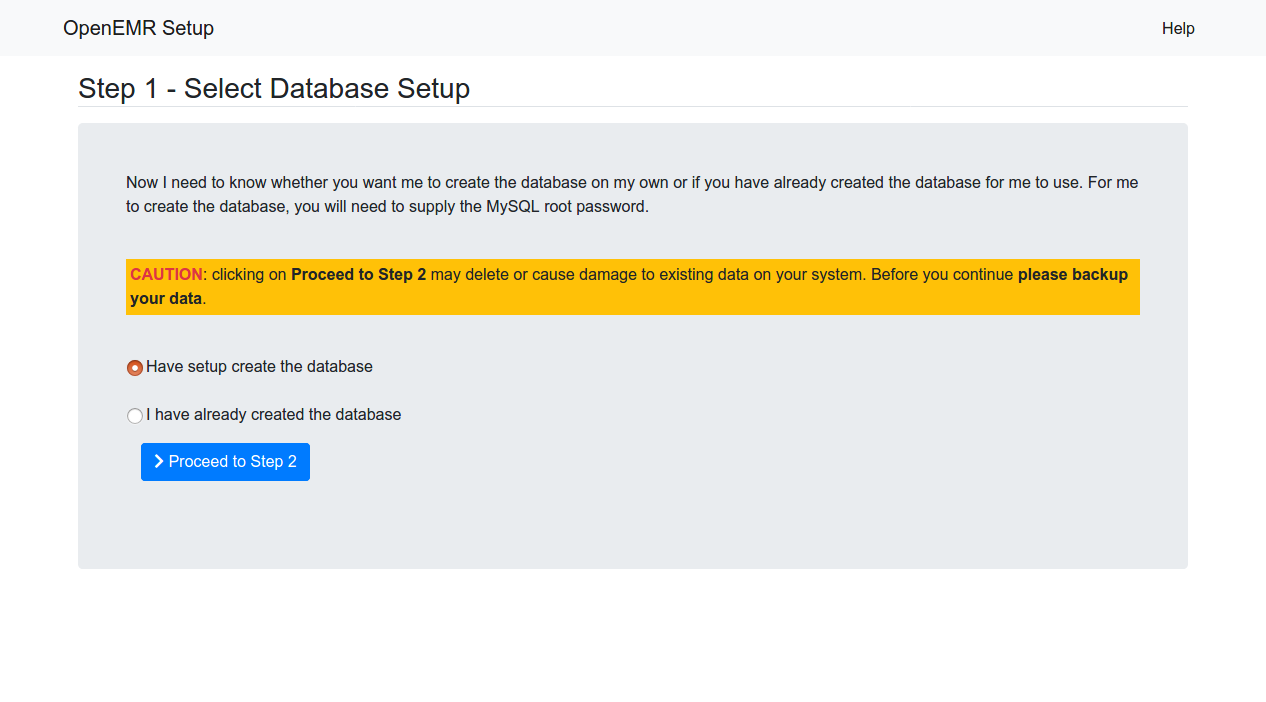
2. The next page is 'OpenEMR Setup' 'Step 1', which asks whether setup should create the database.
- Leave the setting set to 'Have setup create the database', and click the 'Proceed to Step 2' button. You can click on the tooltip link at top right of page for more instructions. (screenshot below)
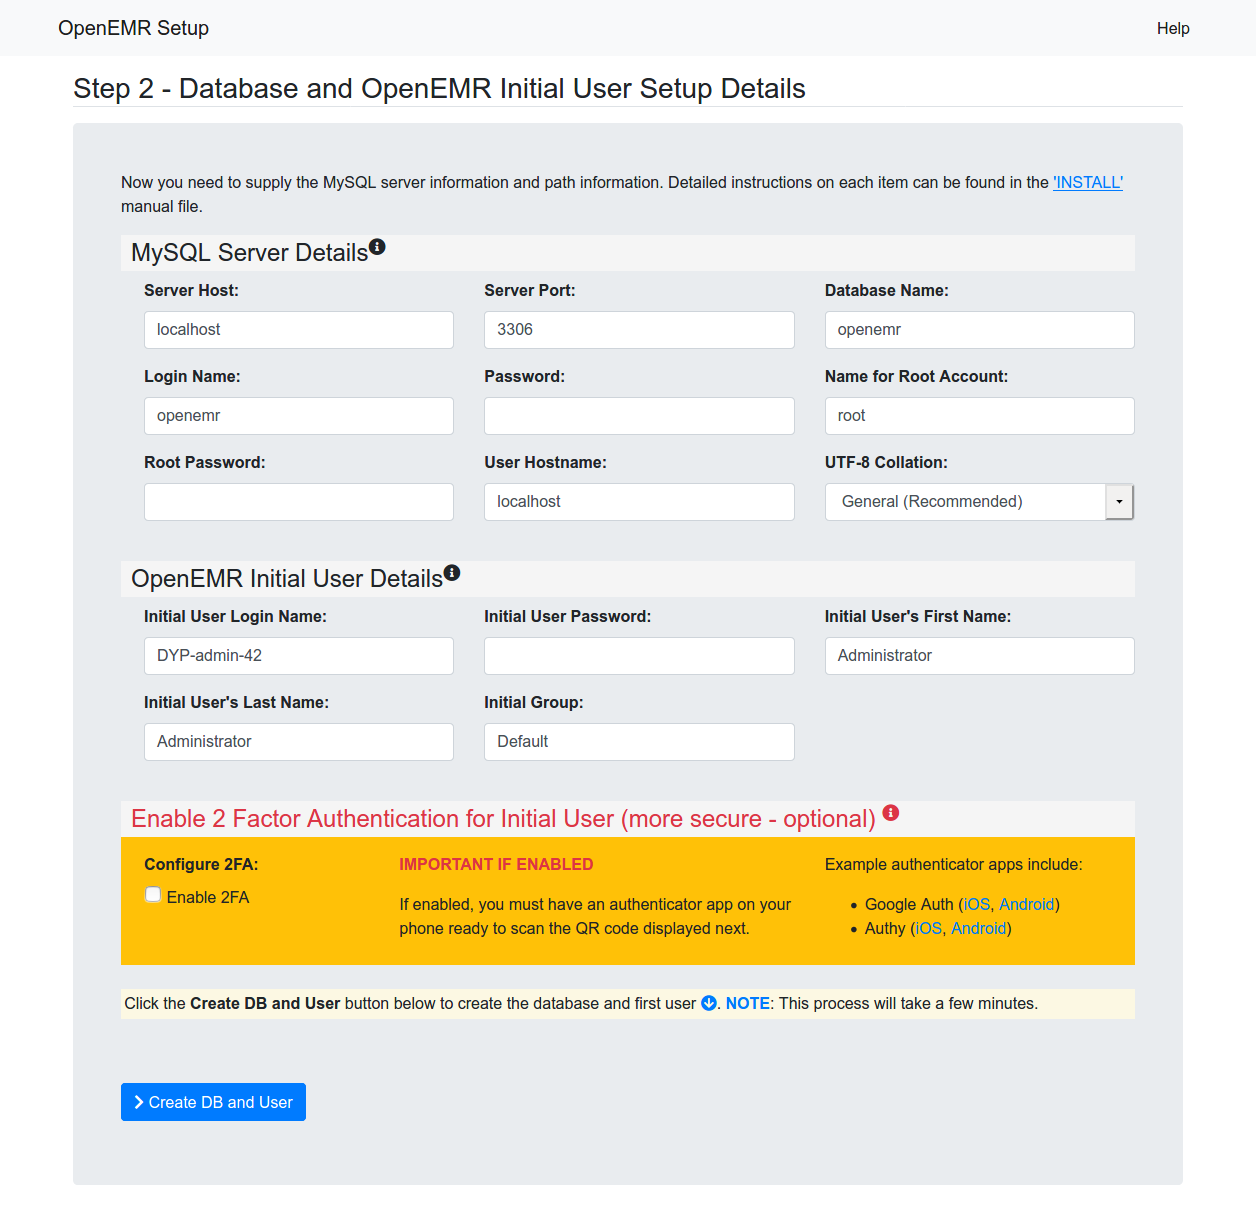
3. The next page is 'OpenEMR Setup' 'Step 2'. It has a list of options used to setup the database, along with OpenEMR user information.
- Most users will just need to enter a 'Password' for the sql user, 'Root Password' for the sql root user, and a 'Initial User Password' for the OpenEMR User. When completed, then click the 'Create DB and User' button. You can click on the tooltip link at top right of page for more instructions. (screenshot below)
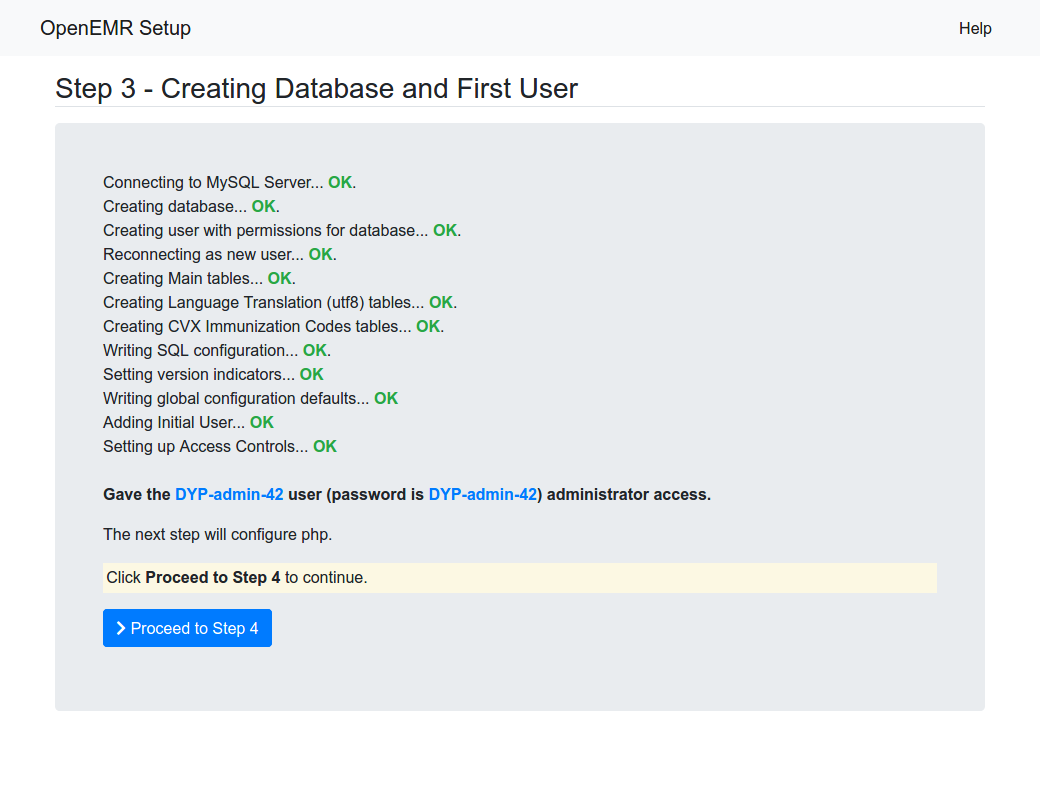
4. The next page is 'OpenEMR Setup' 'Step 3'. On this page you should see logs of OpenEMR connecting and creating the database.
- At the bottom of the page, click the 'Proceed to Step 4' button. You can click on the tooltip link at top right of page for more instructions. (screenshot below)
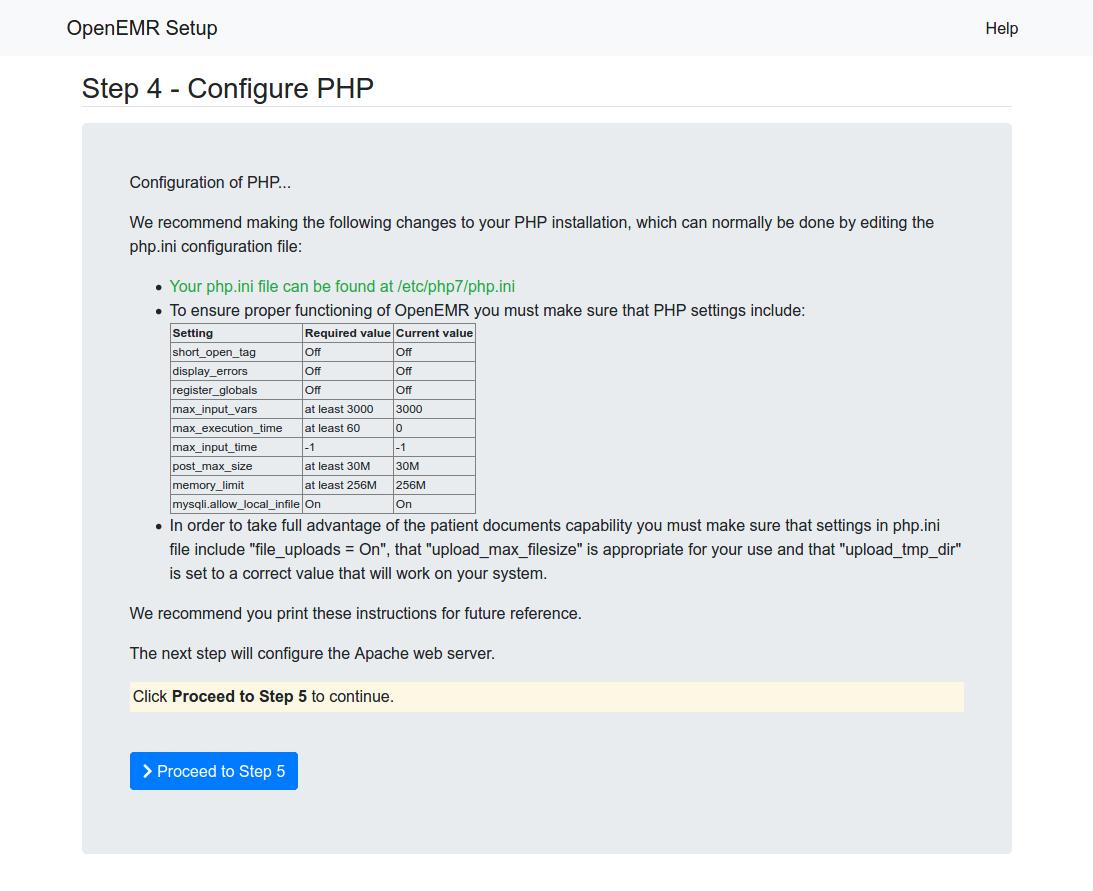
5. The next page is 'OpenEMR Setup' 'Step 4'. On this page is displayed recommendations of how to configure your php.ini config file.
- Read and follow the instructions carefully. We suggest you print this screen for future reference. Click the 'Proceed to Step 5' button. You can click on the tooltip link at top right of page for more instructions. (screenshot below)
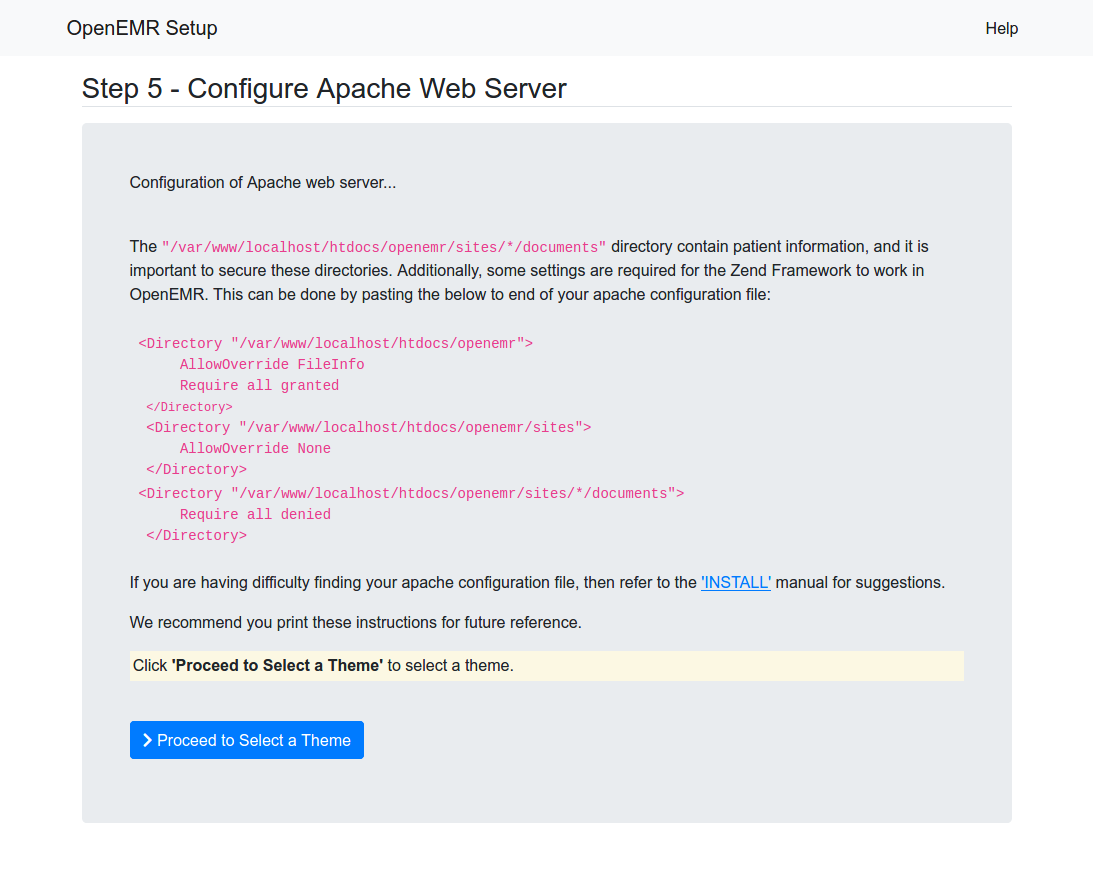
6. The next page is 'OpenEMR Setup' 'Step 5'. On this page is displayed recommendations and warnings regarding directories Apache should NOT allow the outside world to see, as these directories contain Protected Health Information.
- Read and follow the instructions carefully. We suggest you print this screen for future reference. Click the 'Proceed to Select a Theme' button. You can click on the tooltip link at top right of page for more instructions. (screenshot below)
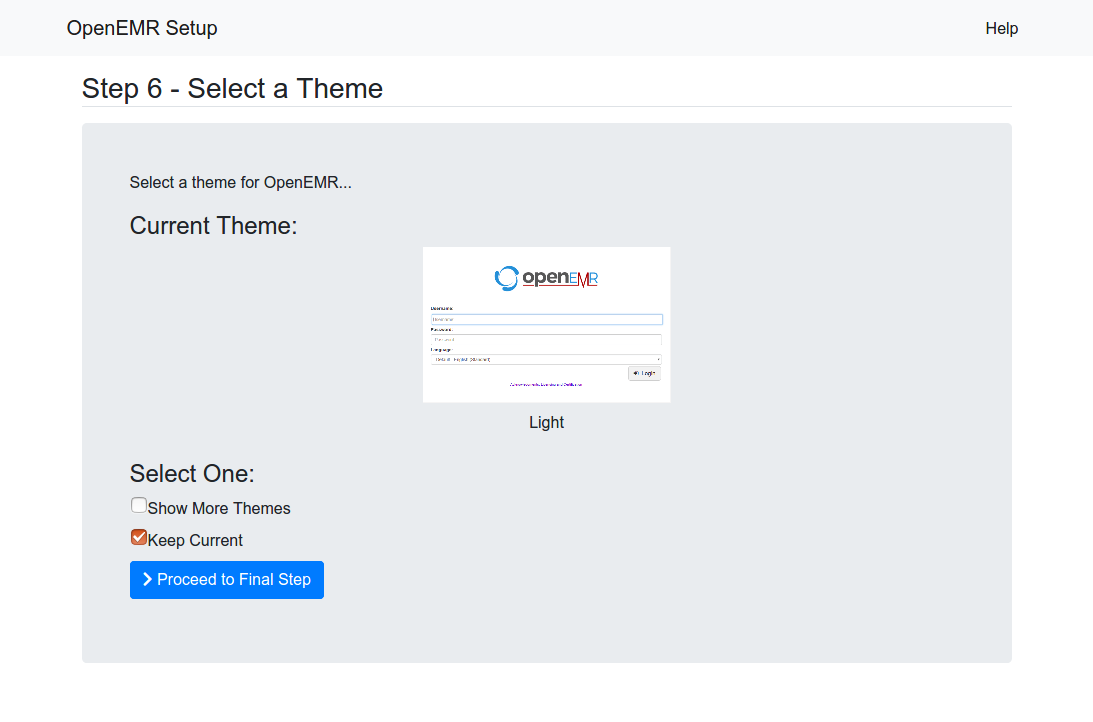
7. The next page is 'OpenEMR Setup' 'Step 6'. This is where select the theme.
- Choose a theme and then click the 'Proceed to Final Step' button. You can click on the tooltip link at top right of page for more instructions. (screenshot below)
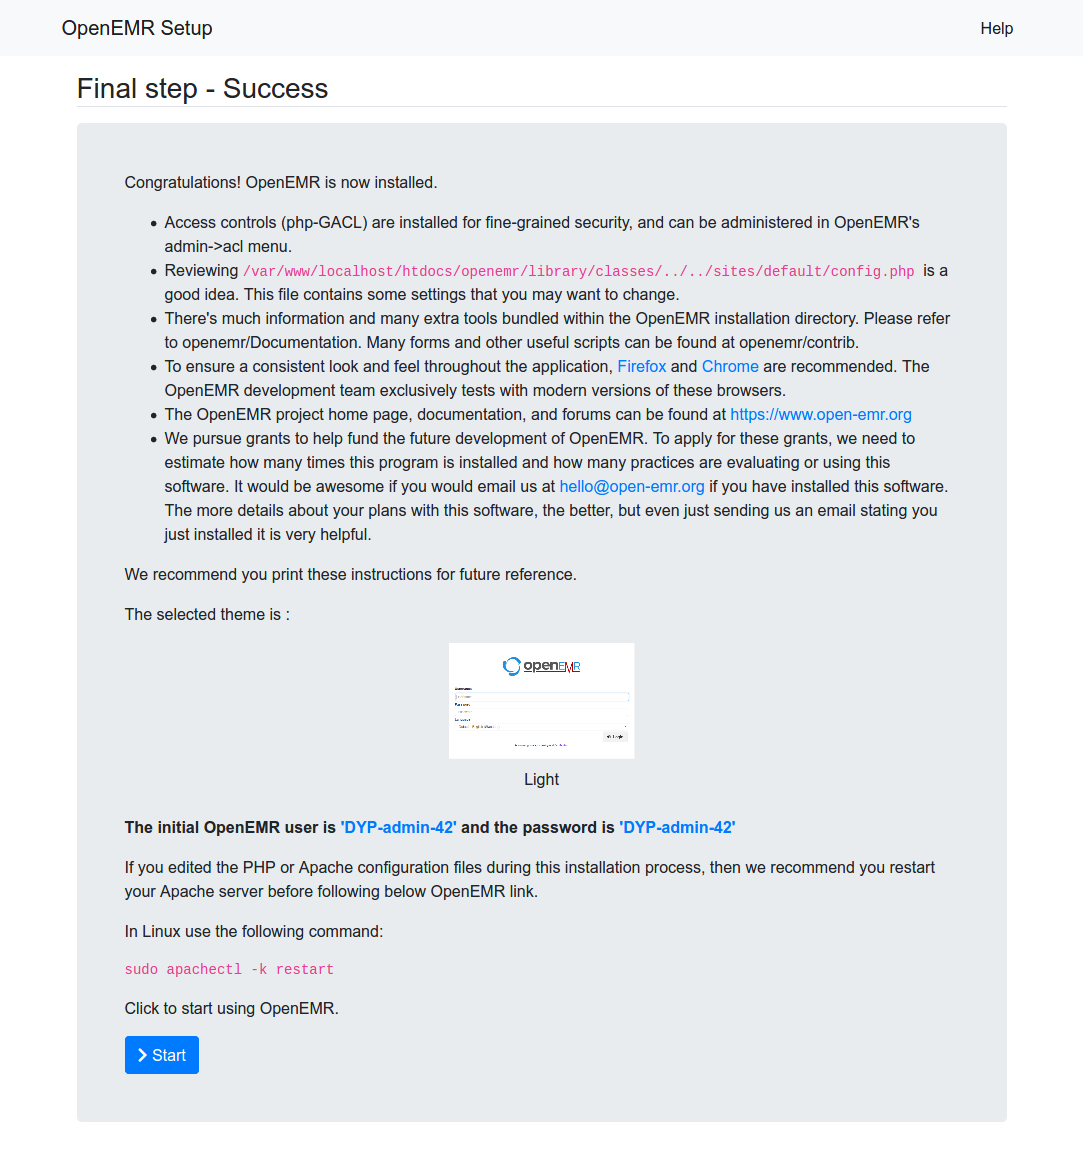
8. The next page is 'OpenEMR Setup' 'Final Step. This is the final configuration page.
- This final installation screen gives additional instructions. This information is personalized for your setup, so we suggest you print this screen for future reference. At the bottom of the page is your OpenEMR username and password, along with a link to OpenEMR. You can click on the tooltip link at top right of page for more instructions. (screenshot below)
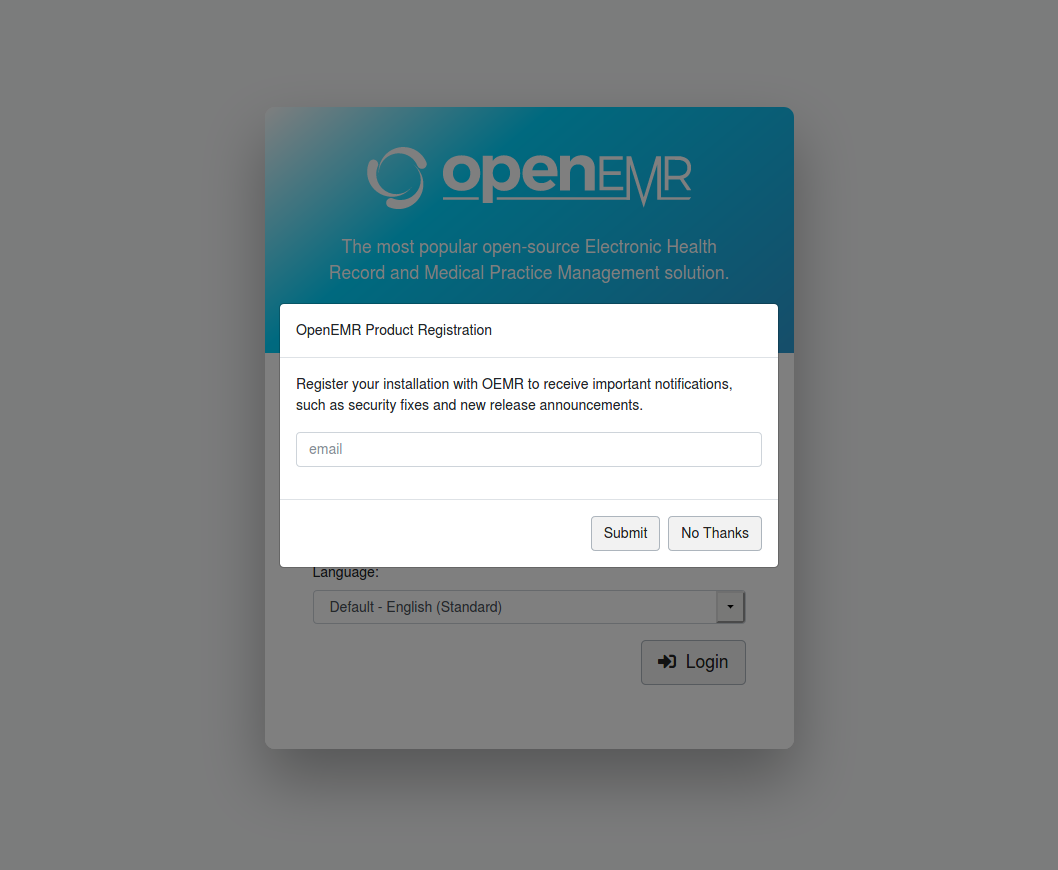
9. The first time you see the login page, you will have an opportunity to register in order to receive important announcements, such as security fixes and new release announcements. (screenshot below)
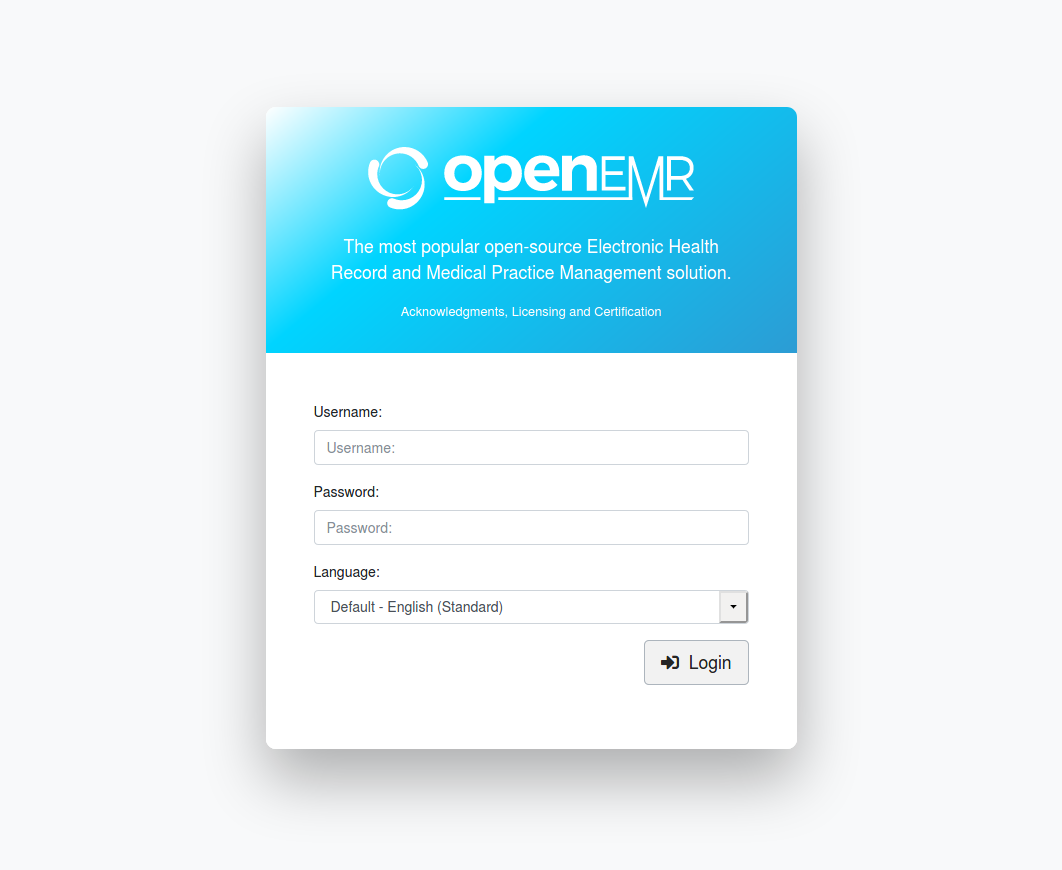
- OpenEMR login screen: (screenshot below)
ALL DONE