Backup and Recovery Using a System Image
Introduction
The integrity of the Medical Record is of paramount importance to a practice. The Electronic Medical Record is effectively ephemeral unless the physician takes step to preserve it in more than one format. The user has the built-in utility to back up, but if the emr_backup.tar fails to restore; one is left high and dry.
Creation of a system image provides another layer of redundancy. It is inefficient to clone a hard drive if a great deal of it is empty space. It can take well over 24 hours to clone a hard drive.
Another use of a system image is to smite a particularly stubborn piece of malware that persists despite all previous efforts. Testing code changes can precipitate white screens of death. If a solution is nowhere to be found, restoring a system image is better than taking 10 grains of Acetylsalicylic Acid.
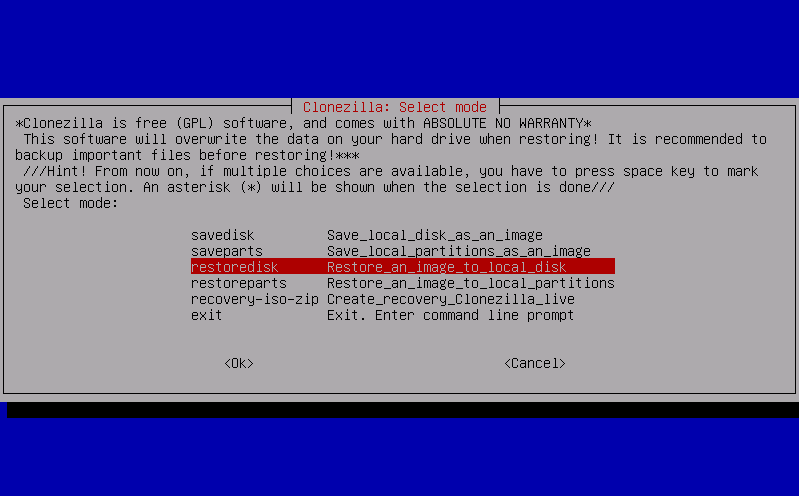
Clonezilla
Clonezilla is open source, but the instructions are not very easy to understand and the Graphical User Interface is a bit frumpy.
Macrium Reflect
Macrium Reflect had been freeware in the past, but presently it is only available as a free 30 day trial. The paid version has some very nice features like differential or incremental backups. The OpenEMR user does not need the whistles and bells because system image creation and recovery can take place independently of the application during and after the 30 day trial period with the Windows PE Rescue Disk.
It is safe to obtain the download from CNET. The package is 121 MB containing Macrium Reflect, the .iso for the Windows PE Rescue Disk and the software to burn the .iso to a CD or a flash drive.
There is no Linux version of Macrium Reflect, therefore it is a prerequisite to install it on a Windows partition and in a device with an architecture identical to the device to be deployed. A 32 bit Windows PE Rescue Disk will not work on a 64 bit computer. In fact, in such a mismatch, the Rescue Disk will self-eject and the application will come to a screeching halt.
The required media are CD or flash drive and an external hard drive. It would be good if the external hard drive has double the capacity of the internal hard drive.
Windows PE Rescue Disk
Microsoft developed the Windows Pre-installation Environment to install the Windows operating system to new devices. Paramount Software UK Ltd adapted it for backup and recovery in event that it is not possible to boot into the operating system. Because the Windows PE Rescue Disk runs externally to the operating system, hence it will image a Linux partition; in addition, the process is more streamlined and faster.
Creation of Rescue Disk
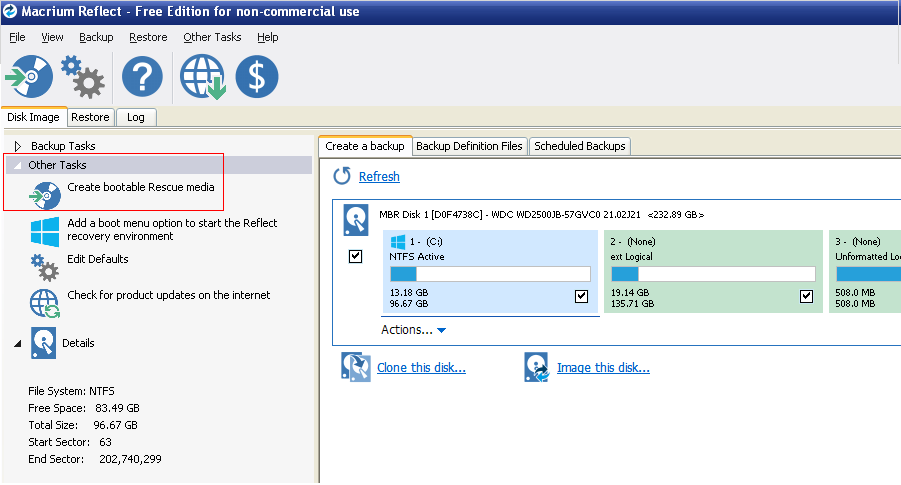
1. Open the software within the 30 day trial period and be certain that you are in the "Disk Image" tab in the upper left part of the screen. Open "Other Tasks" in the left side bar and click "Create bootable Rescue media".
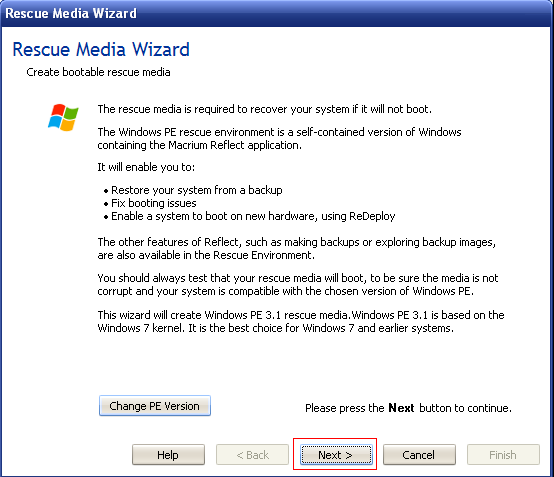
2. In "Rescue Media Wizard" click "Next".
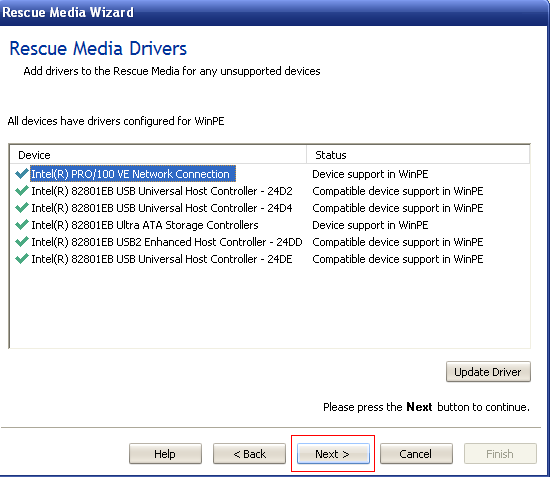
3. In "Rescue Media Drivers" click "Next".
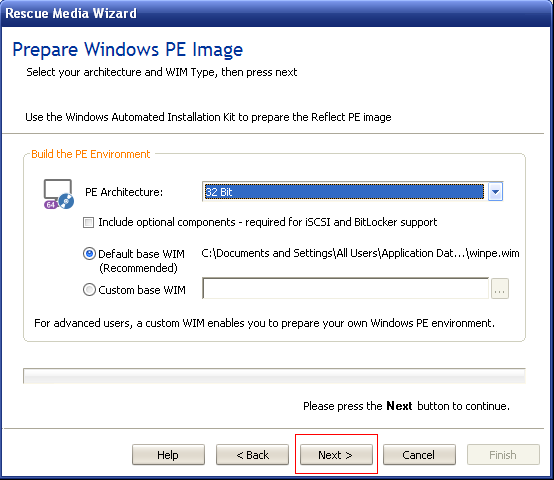
4. In "Prepare Windows PE Image" click "Next".
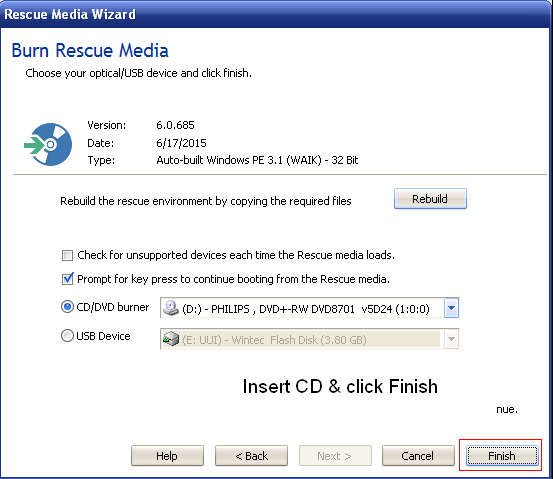
5. At "Burn Rescue Media", insert a CD; then click "Finish". With the completion of burning, the Rescue Disk is ready for use.
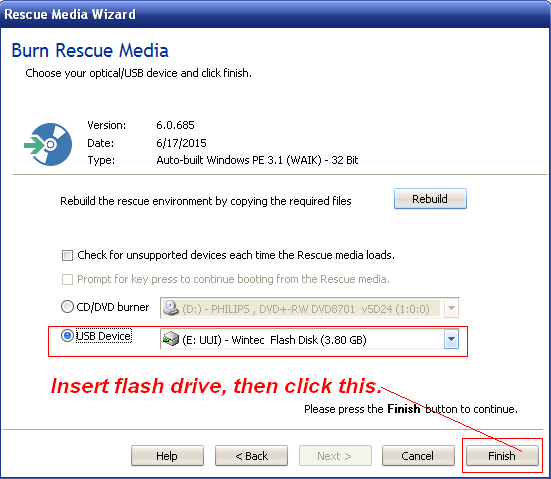
- A flash drive can be used in place of a CD.
Backup
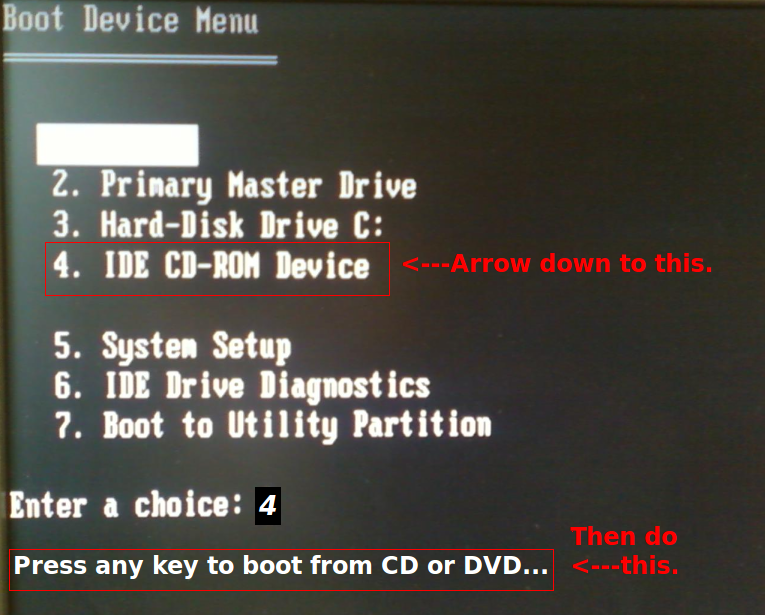
Become familiar with the process of booting from media. On most computers the boot menu can be accessed by tapping the F9 or F12 key immediately after the appearance of first splash screen. This splash screen is the image of the computer manufacturer as the device is starting the boot process. If the image of the operating system appears; you will need to be quicker on the draw with the next attempt, because you missed the opportunity to change the boot order. Restart device again and have your finger ready to tap F9 or F12.
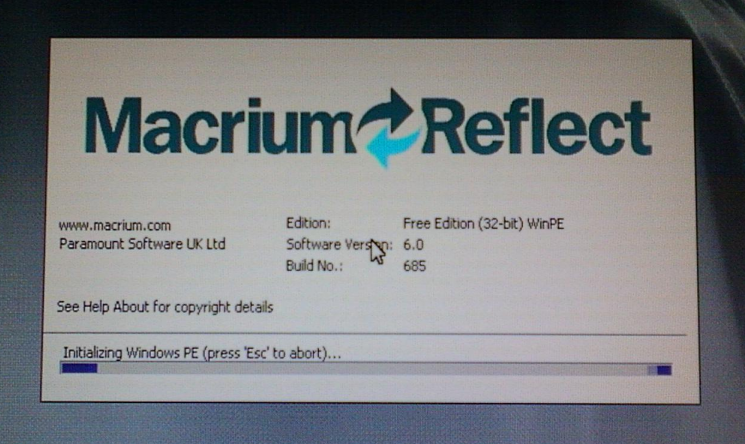
The majority of the screenshots has been taken from the application within the operating system because the images are clearer and cleaner, with a better layout. The remaining images are from an actual run of the Rescue Disk because they are unique and cannot be represented from within Macrium Reflect.
It takes about 29 minutes to image 33 GB of data. This is remarkable given the fact that the 32 bit device running the program has only 516 MB of RAM. Backing up 1.5 GB of OpenEMR data with Xcopy runs about 45 minutes, the first time; on a 64 bit laptop with 4 GB of RAM.
Windows PE replicates the Master Boot Record without "being told". It copies the GRUB Bootloader without breaking a sweat.
1. Insert the Windows PE Rescue Disk with the external hard drive and restart device.
2. Choose the CD option, hit "Enter" and press any key on the keyboard.
3. Wait for the files to load.
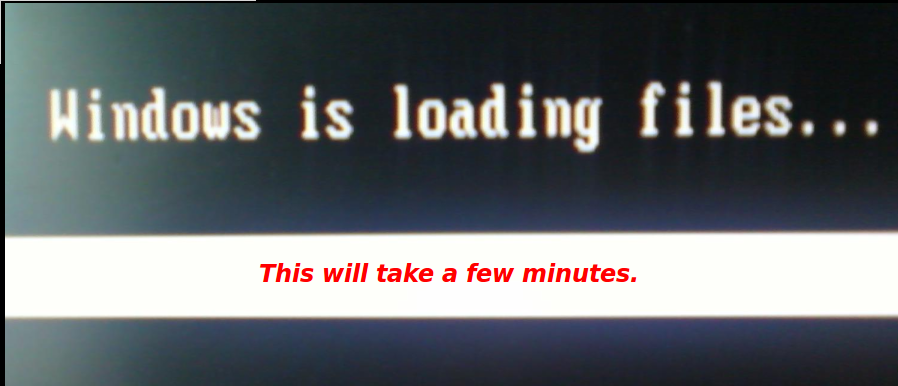
4. This is the next screen.
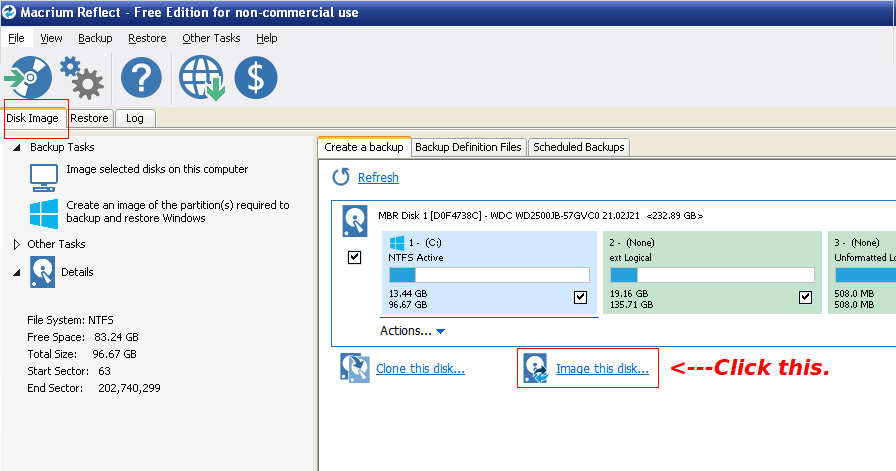
5. Check that you are in the "Disk Image" tab and click "Image this disk...".
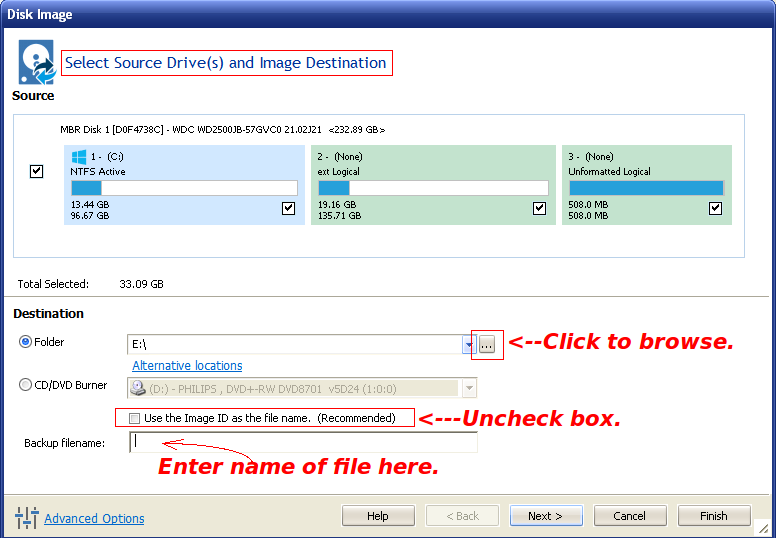
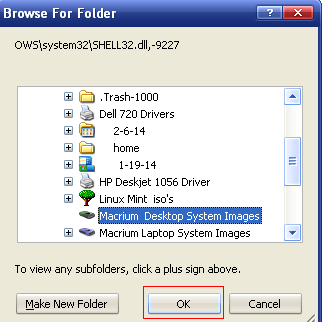
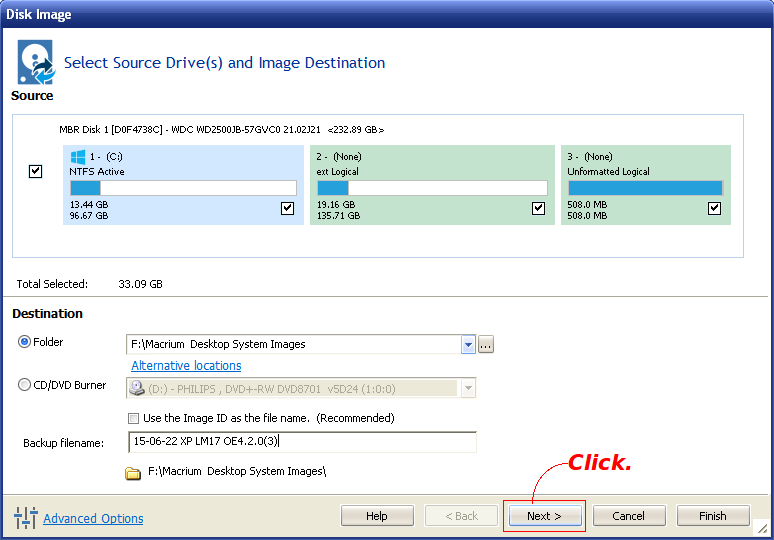
6. Browse for a Destination drive and select it. Uncheck the box for Image ID, because the ID serves poorly to distinguish between different backup files. A distinctive name with a date is a better memory aide.
7. Choose the Destination drive and click "OK".
8. After naming the backup file, click "Next".
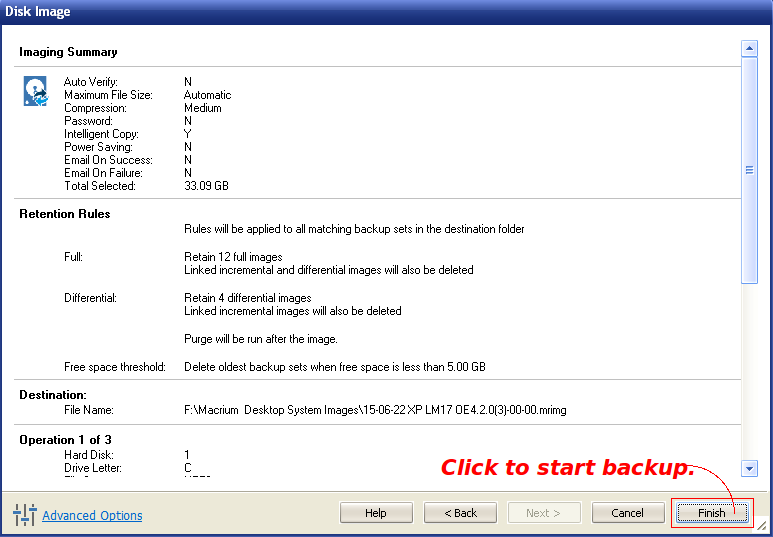
9. The "Finish" button is a little misleading. Clicking it will start the backup.
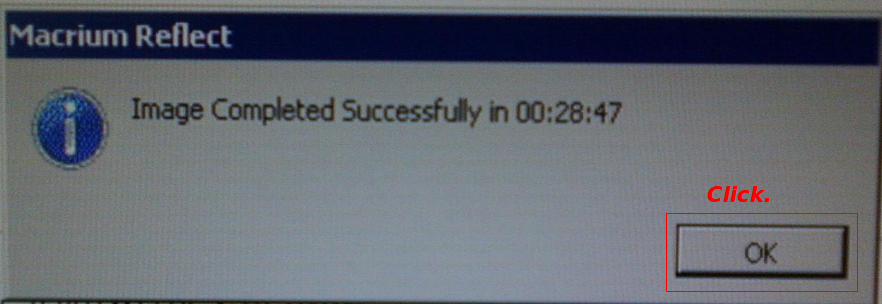
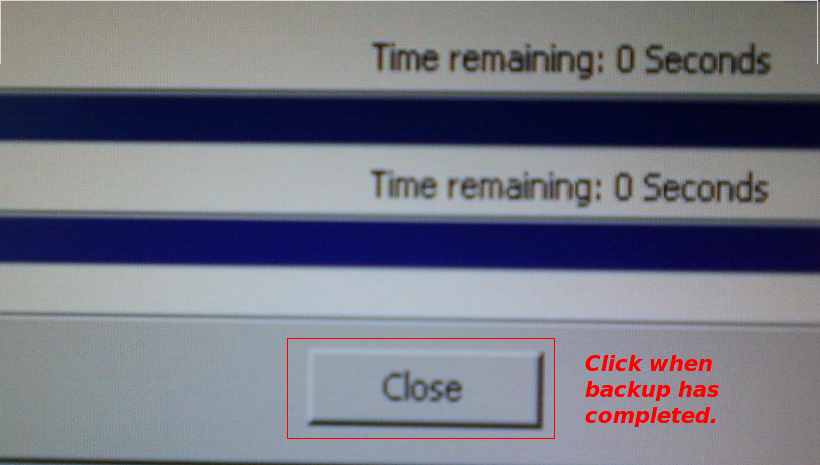
10. When the backup has completed, click "O.K.".
11. To exit backup click "Close".
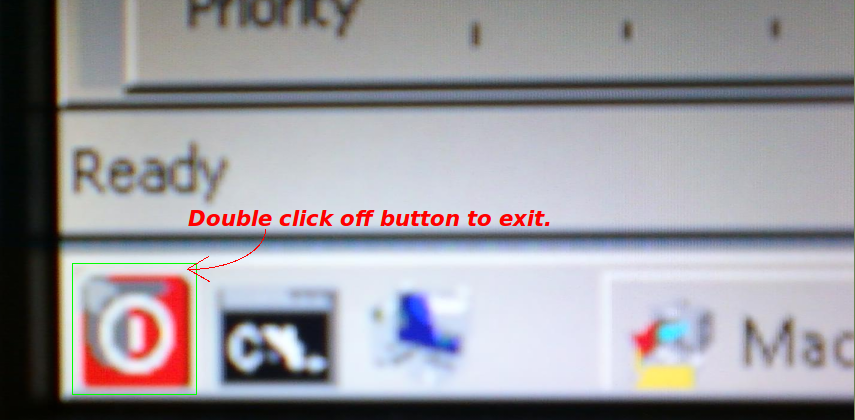
12. Double clicking the red shutdown button in the lower left will begin the exit from the program.
13. Click "Yes" to reboot. Eject the Rescue Disk. Remember not to press any key, otherwise normal booting will not proceed properly.

14. Encrypting the external hard drive would be advisable.
Recovery
Restoring 33 GB of data will take about 20 minutes.
1. Repeat Steps 1 through 4 from the previous section.
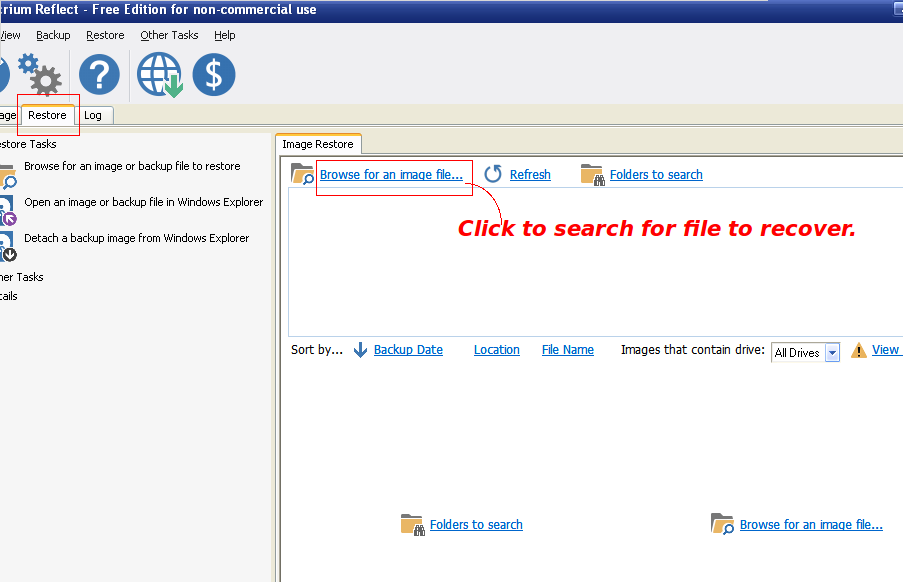
2. Be certain that you are in the "Restore" tab and click "Browse for an image file...".
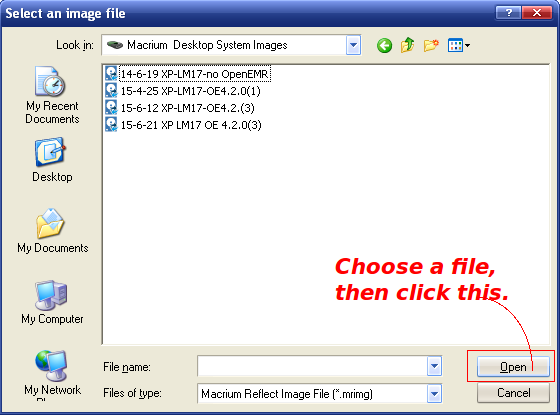
3. Select an image and click "Open".
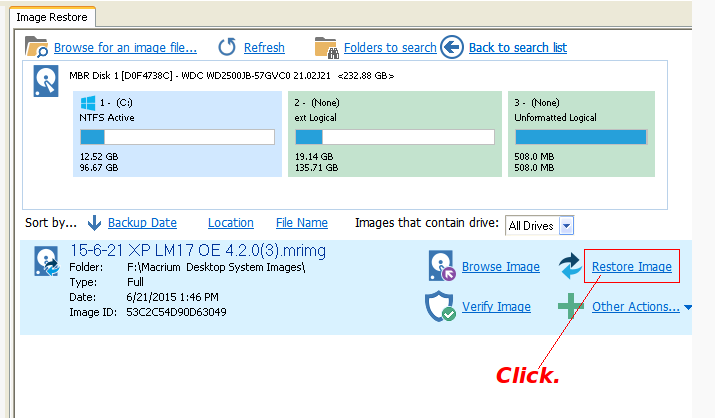
4. Click "Restore Image".
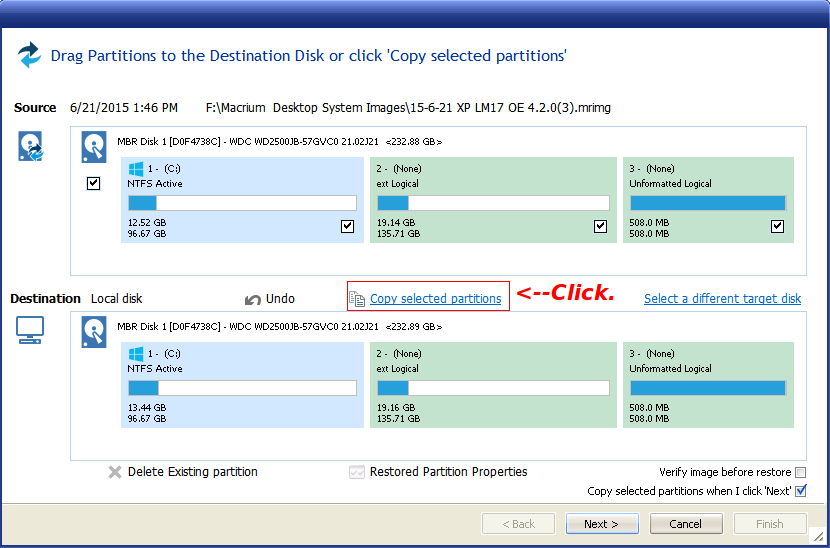
5. Click "Copy selected partitions".
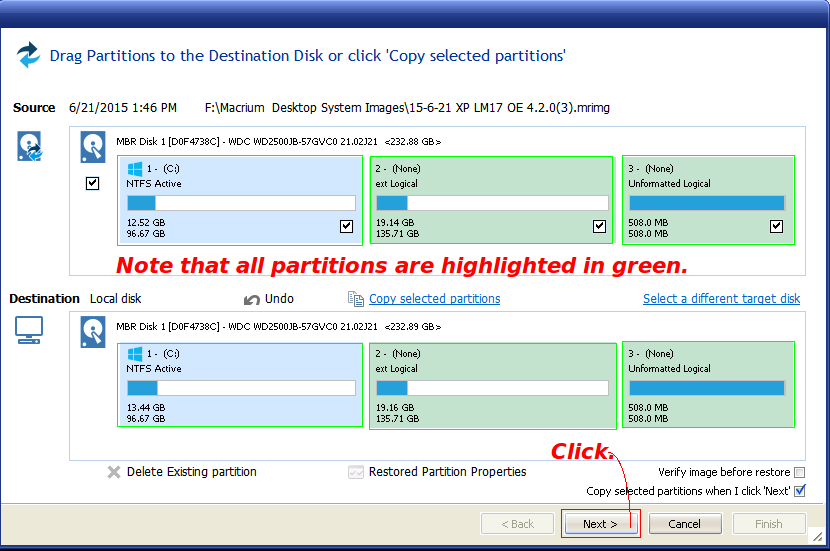
6. If the selection had been successful, the partitions will be outlined in green. Click "Next".
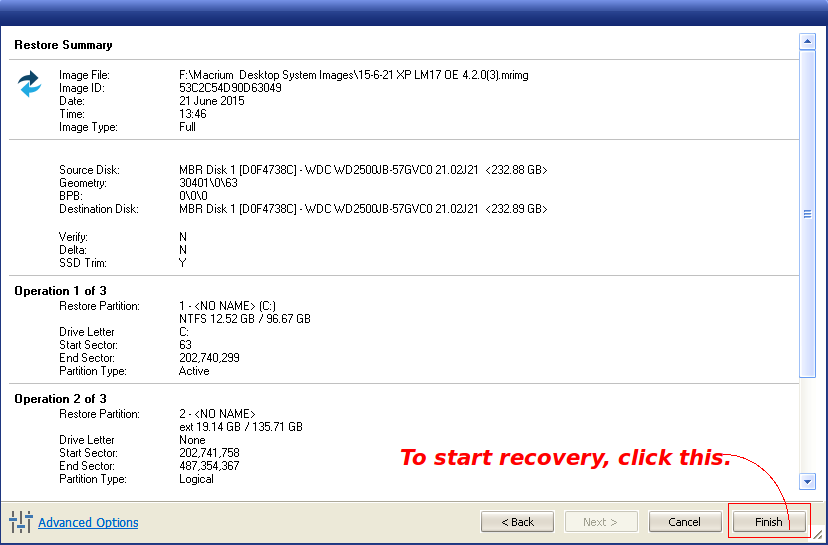
7. Click "Finish" to begin the recovery.
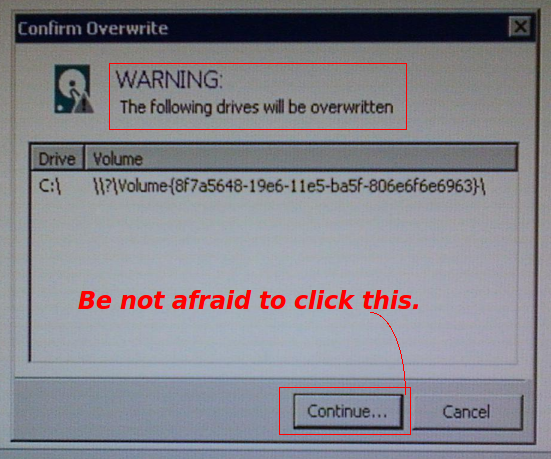
8. Despite the ominous warning, it's perfectly fine to continue.
9. Repeat Steps 11 through 13 from the previous section to exit Restore and to reboot.