Comlink Telehealth Module Admin Instructions
ComLink Telehealth Instructions For OpenEMR version 7.0.0 patch 2 and higher with Comlink Telehealth Module v2.0.0. Please refer to earlier instruction documents for previous versions.
Installation instructions
Enable the Comlink Telehealth Module
- Navigate to Modules → Manage Modules → UnRegistered
- Press Register button for Comlink Telehealth Module
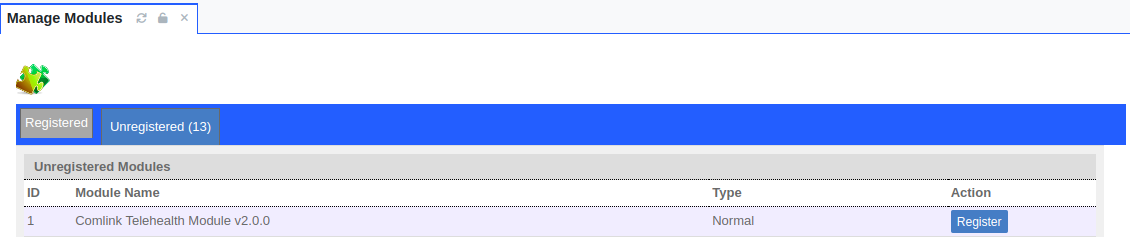
Unregistered Telehealth Module Screen - Hit Install button on Comlink Telehealth Module in the Registered modules tab

Telehealth Module Install Screen - Hit Enable button on Comlink Telehealth Module in the Registered modules tab

Telehealth Module Enable Screen - Hit the Gear Icon for the Comlink Telehealth Module in the Registered modules tab to open up the Telehealth Credentials Signup page.

Configure Telehealth Module button


Signup for Telehealth Credentials
- If you are working with a specific support or reseller vendor follow their instructions for signing up for credentials, otherwise for the default Telehealth support vendor signup do the following:
- Select the Configure icon in the Registered modules tab
Telehealth Configure Module button
- Select the Configure icon in the Registered modules tab
- Setup Step 1 - Signup via PayPal to create your subscription

Paypal signup screenshot - Subscription can be canceled at any time before the 14-day trial period ends with no charge.
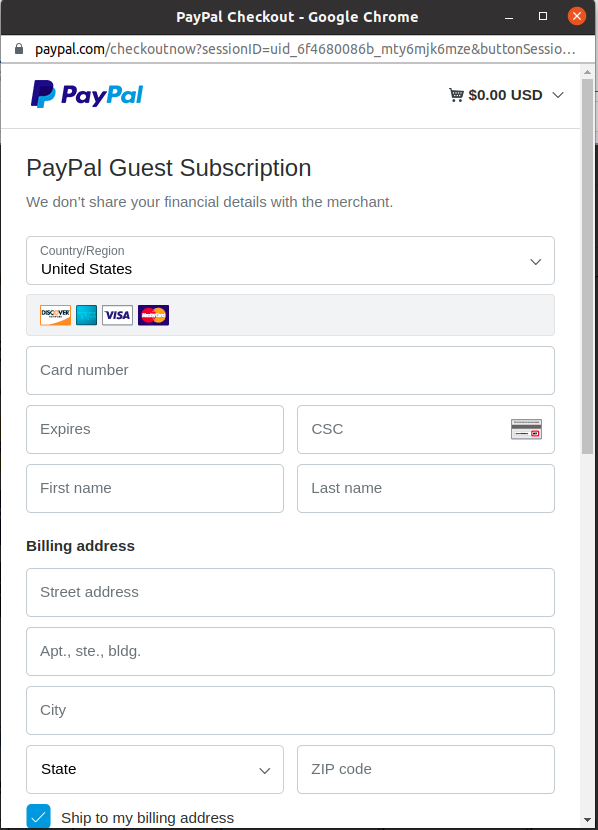
Paypal Signup Screen - Once you have completed the transaction it will take you back to the setup screen and your subscription ID will be displayed
- Copy your subscription ID that is displayed
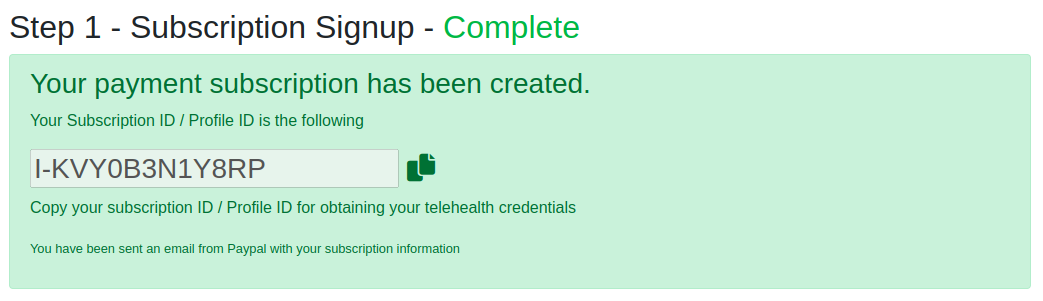
- Subscription can be canceled at any time before the 14-day trial period ends with no charge.
- Setup Step 2 - Now click the link to get your credentials

Generate Credentials Screenshot - Enter your Subscription ID and submit the form
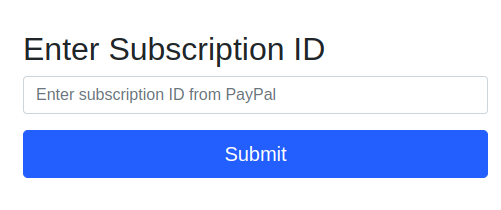
- Enter in your organization information to create your Telehealth Credentials and hit Submit
- Enter your Subscription ID and submit the form
- Make sure to save for your own records the following fields
- Registration URI
- Video API URI
- Installation User ID
- Installation User Password
- Installation CMSID
- Hit the Save Credentials to setup button to save the credentials in the OpenEMR Admin -> Config -> Telehealth settings page
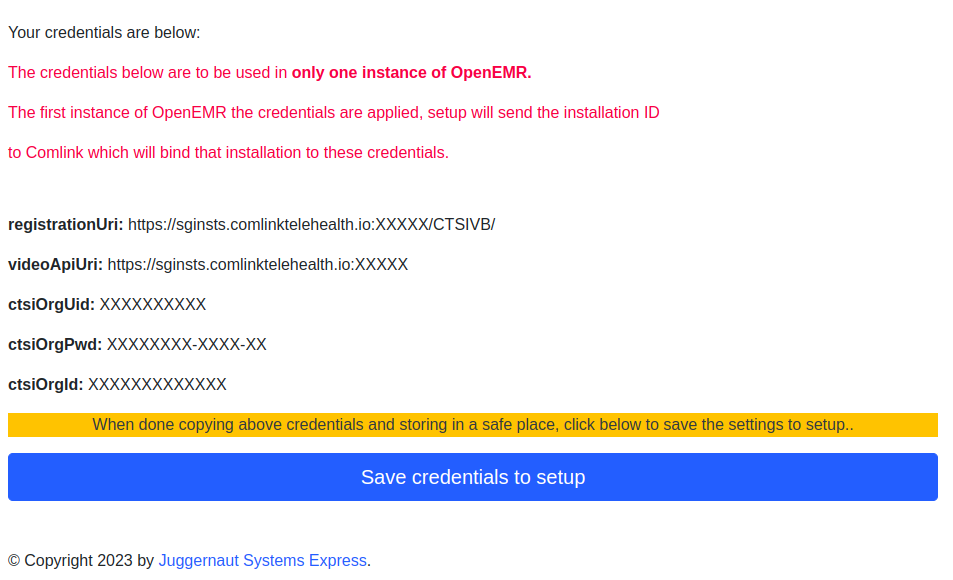
Save Credentials To OpenEMR Button - Your credentials will be saved to the system and you will be taken back to the setup page.


- Step 3 Navigate to OpenEMR Admin -> Config -> Telehealth settings page to finish setting up your Telehealth installation.
Setup the Comlink Telehealth Configuration
- Note: If the required settings are not setup the Telehealth sessions will refuse to connect.
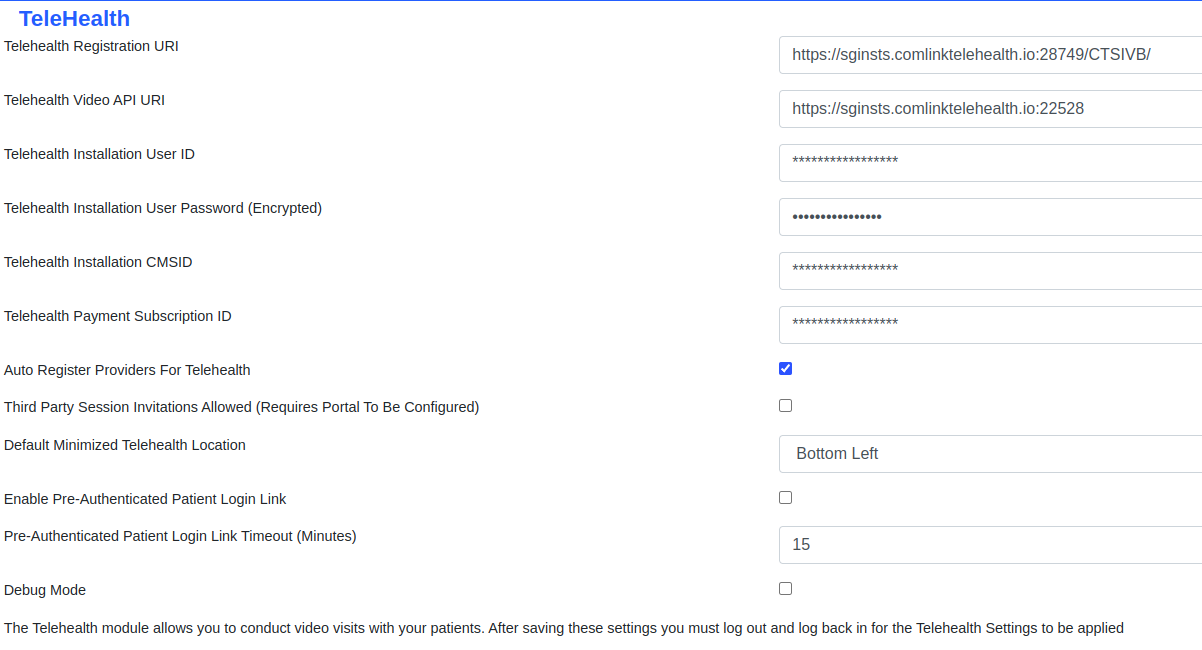
Telehealth Site Config screenshot - Navigate to Administration → Config → Telehealth
- Fill in the following mandatory fields:
- Registration URI – This is the Telehealth user provisioning service for your account.
- Video API URI – This is the Telehealth video service URI for your account
- Installation User ID – This is your unique account id
- Installation User Password – This is your unique account password
- Installation CMSID – This is a unique installation identifier for your organization
- Setup optional configuration fields
- Auto Register Providers for Telehealth – When checked all providers are registered and enabled for Telehealth services. If only some of your organization’s providers will use the Telehealth service, uncheck this box.
- Third Party Session Invitations Allowed – When checked a third party user can be added to the call. See Inviting Third Party Participant
- Default Minimized Telehealth Location – Choose the location on your browser screen you want the minimized Telehealth session to appear. This option allows you to customize the display to match your note taking workflow.
- Enable Pre-Authenticated Patient Login Link – When checked patient's telehealth invitation links will directly log them into
- Fill in the following mandatory fields:

their Telehealth session without having to login to their patient portal. The patient invitation screen inside the session will also have the option to generate a direct invitation link that can be texted or emailed outside the application.
- Pre-Authenticated Patient Login Link Timeout (Minutes) – The number of minutes (from 1 to 30) that the login link will be valid and usable by the patient for logging into their Telehealth Session using their login link.
- Setup Patient Portal and Notifications for email invitations and third party invitations
- Patients can only access their Telehealth session from within their patient portal. This keeps the session secure and prevents unauthorized access.
- Patient and Third Party invitations are sent out via e-mail notifications. The following settings need to be configured for these settings in the Administration → Config screen.
- Portal → Enable Patient Portal
- Portal → Patient Portal Site Address
- Notifications → Patient Reminder Sender Email
- Notifications → Notification Email Address
- Notifications → Email Transport
- Notifications → SMTP Server Hostname
- Notifications → SMTP Server Port Number
- Notifications → SMTP User For Authentication
- Notifications → SMTP Password For Authentication
- Notifications → SMTP Security Protocol

Notification settings configuration screenshot - (Example using the MailGun SMTP email delivery service for mysampledomain)
- You will need to logout for the changes to take effect.

Set the server timezone setting
- OpenEMR Telehealth sessions are restricted to launching only within two hours (+/-) of the current server time. To set the server time.
- Navigate to Administration → Config → Locale
- Set the Time Zone setting to be the time zone for your clinic / installation location

Timezone configuration screenshot

Provider permissions
- Telehealth sessions are launched from the patient appointments. Providers must have access to the Access Control List (ACL) Patients → Appointments permission. By default this is provided in the Clinicians group but if you have customized the permissions for your organization, for Telehealth permissions to work this ACL must be added to each user who will conduct or schedule a Telehealth session.
Provider Telehealth Instructions
Demographics Contact and Choices
- Edit the patient's demographics to make sure a contact email is present.
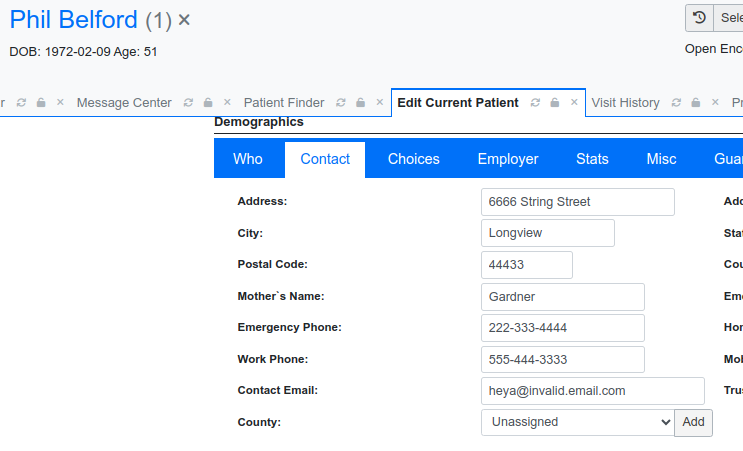
Edit contact email screenshot - Edit the patient's choices to ensure that at a bare minimum Allow Email and Allow Patient Portal are enabled.
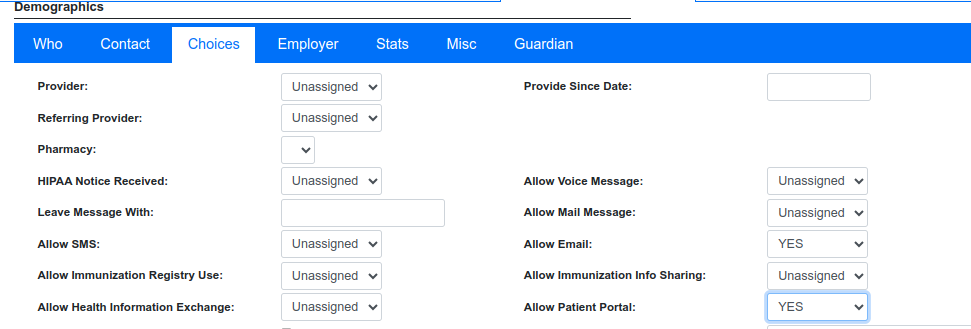
Edit choices email screenshot - Create the patient portal credentials from the Patient Portal / API Credentials widget
Create portal credentials screenshot


Creating a Telehealth appointment
For instructions on creating appointments in general you can read the Using the Calendar tutorial.
- Open the Calendar
- Choose a time slot and open a new calendar appointment. Telehealth sessions can only be launched if it is within (+/-) two hours of the server time.
- Set the Appointment Category field to either of these two values:
- Telehealth Established Patient
- Telehealth New Patient
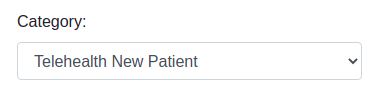
Telehealth Calendar Category dropdowns screenshot
- Choose a patient and set any other appointment details like you normally would for a patient appointment. The appointment comments will show up as the appointment agenda for the session.
- Hit the Save button
- Verify the appointment created with the Telehealth icon indicating it is a Telehealth session.

Launching a Telehealth appointment
- Navigate to the Calendar
- Click the video launch icon next to the patient’s name.
- The launch icon’s are color coded to represent the status of the session. These colors can be different if you are using a different theme.
- The legend for the types of launch icons are:
- Blue for sessions that are available to be launched

Appointment launch button for ready appointment - Black for sessions that have passed the two hour launch period

Appointment icon button for expired appointment - Green for appointments that have been completed and can no longer be launched.

Appointment icon for completed appointment
- Blue for sessions that are available to be launched
- Press OK to confirm that you wish to launch an appointment.
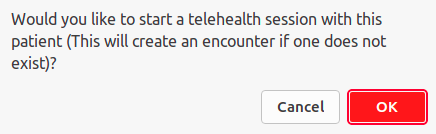
Confirm launch dialog screen - If this is the first encounter of the day for this client it will create a new encounter.
- If the appointment belongs to another clinician it will copy the appointment into your own calendar and mark the clinician’s appointment as having been transferred to you.
- If this is a pending appointment scheduled by a staff member or a patient, the appointment will have its pending status removed.
- If the patient is not currently selected for this appointment, OpenEMR will load with the current patient and the encounter for this appointment.
- If you have configured the patient portal and Notifications section, the system will send an email to the patient with a link to join the session.
- You will now be in the Telehealth Appointment waiting room.
- Continue with the Waiting Room Setup


Patient Telehealth Instructions
Launch an existing Telehealth appointment
Email Invitation Launch
- Select the Join Telehealth Session button from your telehealth invitation link. If you never received this link. Contact your provider to resend it.
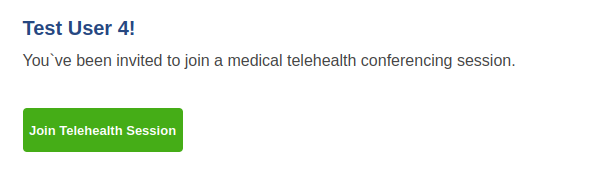
Session Join Email Invitation Screenshot - Log into your patient portal (If the clinic has setup Pre-Authenticated Patient Login Link this step will be skipped.)
- Wait for your telehealth session to launch. If it doesn’t launch after a few seconds press the Launch Session button.
- Continue on with the instructions in Waiting Room Setup


Patient Portal Appointment Page Launch
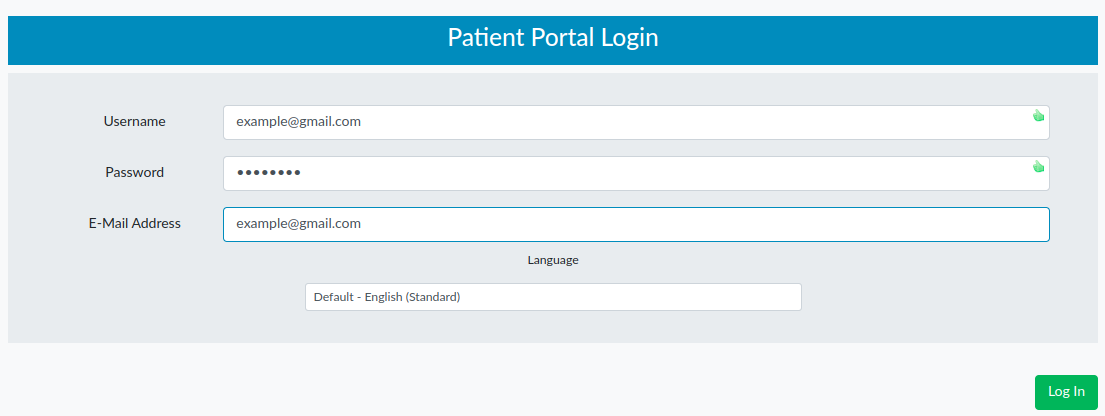
- To access your patient portal appointments. You must first login to the patient portal using the patient portal address your provider or office staff provided you for your account. If you do not have this address contact your provider’s office.
- Next login to your patient portal and open the Appointments tab.
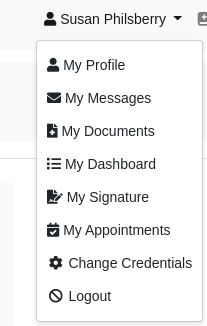
Patient Portal Menu Screen - Find the session you wish to launch
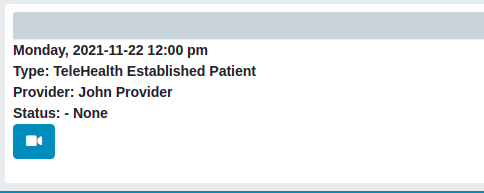
Telehealth Patient Portal Single Appointment Screenshot - Click the Launch Telehealth session icon for your session to join the waiting room. Continue on with the instructions in Waiting Room Setup.


Schedule a new Telehealth appointment
- Login and navigate to your Appointments screen
- Select the Schedule New Appointment button

- Choose from one of the two options for the Visit dropdown
- Telehealth New Patient
- Telehealth Established Patient
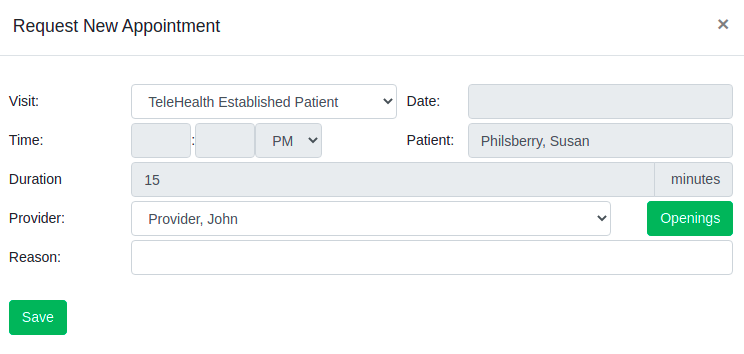
Patient Portal Schedule New Appointment
- Select your provider you wish to make an appointment with and hit the Openings button
- Choose one of the available time slots. If your provider has not created any openings for the date range you choose you will not see any slots open.
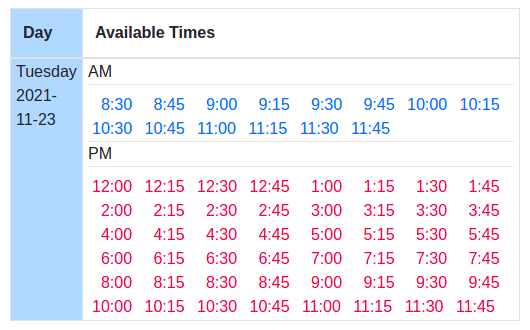
Patient Portal Available Slots Screenshot - Once your time is selected hit the Save button to save your appointment.
- Your appointment status will show as pending until your clinic has confirmed the appointment.
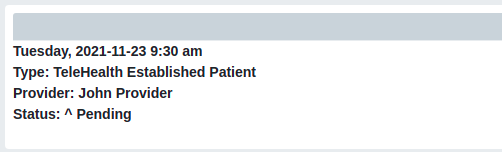
Telehealth Scheduled Appointment Pending


Waiting Room Setup
- Grant Access to your local microphone and camera.
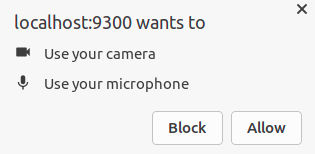
Grant microphone and video access screenshot - You must have at least one of these devices working in order to join the session. You will be unable to join the session until you have granted access to at least one of these devices.
- Screenshot above taken from Chrome Web browser.
- The permission request may look different on your device depending on the device and browser used.
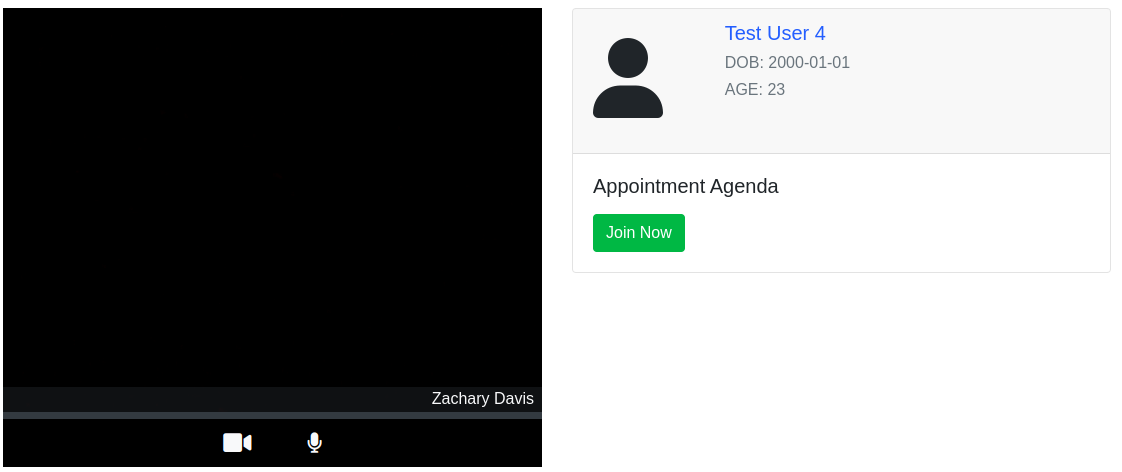
- Press the Join Now button to start the Telehealth session.
- Providers - Your patient will be unable to join until you press the join now button.
- Patients - Wait for your provider to join.
- The button will be disabled until your provider has joined the session.

Disabled join now button - Once your provider has joined the conference room the button will become enabled.

Join now button
- The button will be disabled until your provider has joined the session.
- Hit the Join button to launch your session.
- You will enter the conference room and can now wait for the other participants to join the call.
- Learn how to use the conference room with the Telehealth Session Conference Room Controls section


Telehealth Session Conference Room Controls
General Controls
Show / Hide Room Controls
- The room controls will fade out of view after five seconds of inactivity. Moving the mouse or tapping the screen on a mobile or touch screen device will display the room controls once again.
Enable / Disable Video & Microphone
- To turn off your camera press the video camera icon. Press the icon again to turn it back on.

Disable Video Camera button

Enable / Disable Microphone
- To turn off your microphone press the microphone icon. Press the icon again to turn the microphone back on.

Disable Microphone button

Collapse participants / expand participants
- By default on large screen display devices the participant list is automatically displayed. You can collapse or expand the participant sidebar by pressing the expand or collapse icons.

Collapse Participant List button 
Expand Participant List button


- To share your viewing screen first select the share screen icon. This icon only appears if there are other participants in the session.

Screenshare button - In the share screen dialog choose the screen you wish to share with participants. You can share your entire screen or choose a single application window you wish to share (The options will vary depending on your browser). Choose your screensharing option and then hit the button Share.
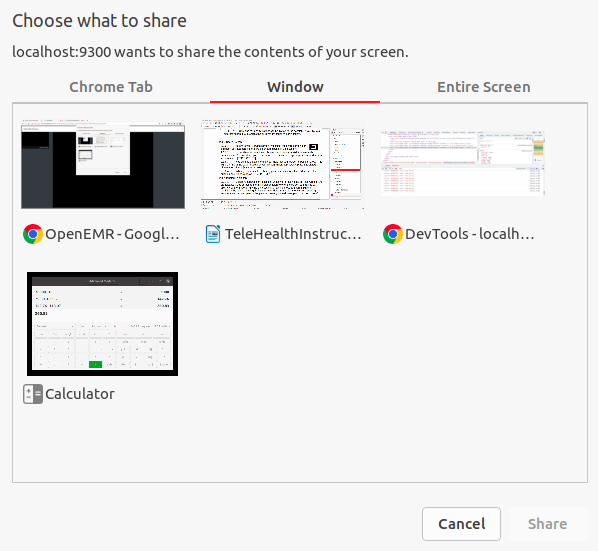
Pick your screen to share dialog window - You will see a dialog letting you know that your screen is being shared. This will either be at the top or bottom of your screen (different browsers place this dialog in different locations).
- When you are finished sharing your screen choose the Stop Sharing button in the dialog window.

Stop screensharing dialog window - Screensharing is only supported on desktop devices. Mobile devices currently do not support the screensharing option.


Pinning Participant
- Selecting a participant’s session window or pressing the pin icon will lock the participant’s video screen to the main presentation view of the screen so that you will always see them speaking while the session remains pinned. You can unpin the participant by again selecting their session window or pressing the pin icon. Pinning another session participant will unpin the currently pinned participant.

Screenshare button

Provider Room Controls
Minimize / Maximize Session For Note Taking
- During your Telehealth session if you need to record vitals, add encounter forms, or do other work inside the EMR while you are working. You can hit the notes clipboard icon to minimize the video window.

Take Notes by Minimizing Window button - If you wish to expand the video session hit the expansion icon.

Close notes and expand window button - You can drag the minimized window to a new location for the session and it will remember your settings during the current video session. The default location of the minimized window can be configured by changing the Default Minimized Telehealth Location.


Inviting Third Party Participant
- To invite a third party participant to the call select the invite participant icon to launch the Invite Third Party Participant Dialog screen.

Invite New Patient - You can invite an existing patient to the session or add a new participant as a patient to the system.


Third Party Invitation – New Patient
- Choose the Invite New Patient button to launch the New Patient Creation Screen
Invite New Patient button 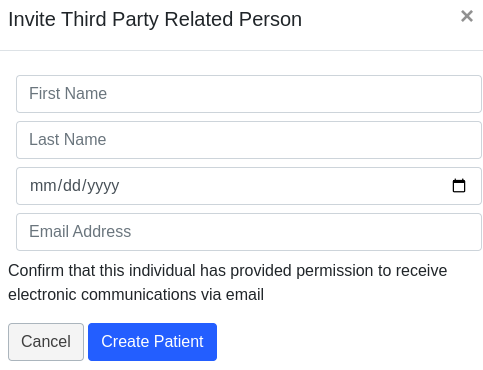
Create New Patient screen - Enter in the following fields to create a new account
- First Name
- Last Name
- Date of Birth
- Email – the email address that the patient will use to login to the session and receive the email invitation to join the Telehealth session.
- Verify the participant has given permission to receive HIPAA communications via email and press the Create Patient button

Create Participant button - The system will add the participant as a new patient, create their patient portal credentials, and send the participant an email with their patient portal credentials and an email with the link to join the Telehealth session.
- If any information is missing or the email is invalid the system will prevent you from inviting the participant until the information is corrected.
- If you need to go back and choose an existing patient you can select the Cancel button.

Cancel button


Third Party Invitation – Existing Patient
- On the Third Party Participant Dialog screen choose the Existing Patient button.
Add existing patient button 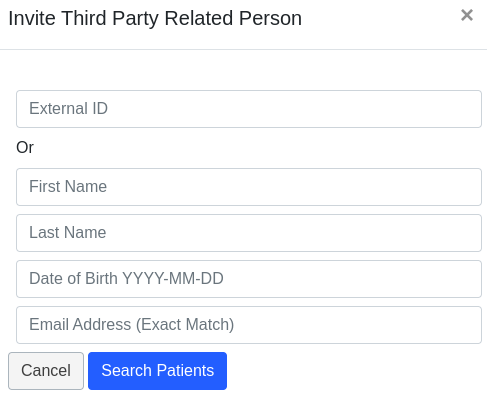
Search Patients dialog window - You can search for an existing patient to invite to the session using the search features in this dialog. The search will filter the patients found by matching against each search value entered (this uses AND logic sometimes called the intersection of values). The values you can search on are
- Search by pid → The patient identifier number if you know it. It will only search for exact matches to this number.
- Search by first name → Will search for the entered value if it exists anywhere in the first name of the patient.
- Search by last name → Will search for the the entered value if it exists anywhere in the last name of the patient.
- Search by date of birth → Searches the date of birth for the patients.
- Valid options are:
- Year - Enter the year in YYYY format
- Year & Month - Search by month by entering in by YYYY-MM format
- Year, Month, & Date – Search by day by entering in the format YYYY-MM-DD format.
- Run the search – You can run the search by hitting the search button

Search Patients button - You will see a list of the found patients with a button for each patient to invite that patient.
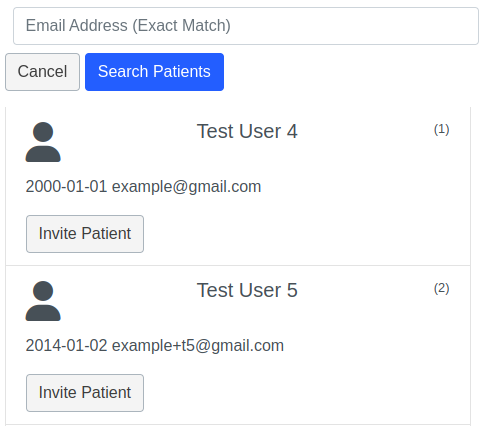
Participant search results screen
- Run the search – You can run the search by hitting the search button
- Select the Invite Patient button to invite that patient.
Invite patient button - The patient will receive an email for them to join the session.
- Only one third party patient can be invited to the session. If you invite a different patient it will replace the currently invited third party patient.


Copy Participant Invitation Link
- If you wish to use your own email service to send the invitation link or invitation message to a patient you can do so by selecting the Copy Invite Link button or Copy Invitation button to copy the link the participant can use to join the Telehealth session.

- If the clinic has setup the Pre-Authenticated Patient Login Link option then your screen will have a generate link button to generate the patient login link to invite the patient to the session.
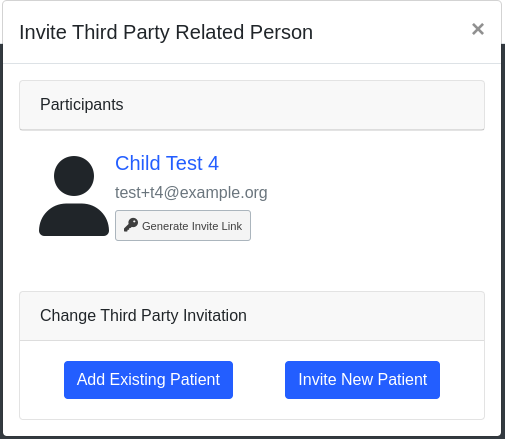
Participant Generate Login Link screenshot - Clicking the Generate Invite Link button will generate a link and an invitation message which can then be copied to invite participants.

Participant Copy Generated Link screenshot


Ending Session call
- To end the session press the hangup button

Hangup button - You will be asked to confirm that you wish to close the session.
- Press the Confirm button
- Update the appointment status.
- You can choose to not update the appointment, mark the appointment as a No Show, or mark the appointment as the appointment as complete and the patient has left. Choosing one of these buttons will close the session immediately.
- If another status option is better for the appointment you can choose one from the dropdown list.
- When you choose another status option, press the Set Status button to update the status and close the session.

Patient Room Controls
Ending Session call
- To end the session press the hangup button to leave the conference room. This will close your telehealth session.
Hangup button
Upgrade Instructions
- Coming Soon
Pricing
- Notice: Pricing subject to change*
- $16/mo. per provider unlimited sessions. There is a free 14 day trial to use the module. - If you are working with a different vendor / reseller than the default OpenEMR installation, your pricing will be set by them.
Other Instruction Guides
Provider Guides
Comlink Telehealth Module Providers Instructions - Specific instructions and a quick reference guide for providers from a clinical perspective
Patient Guides
Comlink Telehealth Module Patient Instructions - User manual that can be shared with patients.
